Ten suggestions for getting designs built right the first time.
In our previous column on schematics, it might appear that with so much detailed information anyone could perform the layout phase. A detailed schematic, however, is only the foundation for the PCB layout. Not just anyone can create a successful PCB layout. Someone who understands industry standards for design and manufacturing and has the depth of knowledge required for incorporating design for excellence (DxF) must perform the layout. This individual is analytical enough to sort through vast amounts of data, but creative and free-thinking enough to see many alternative ways to complete a design and have the intuition to choose the best one. Simply put, a PCB designer is a person of renaissance. Here are some steps to place you on the path to successful layout setup and placement.
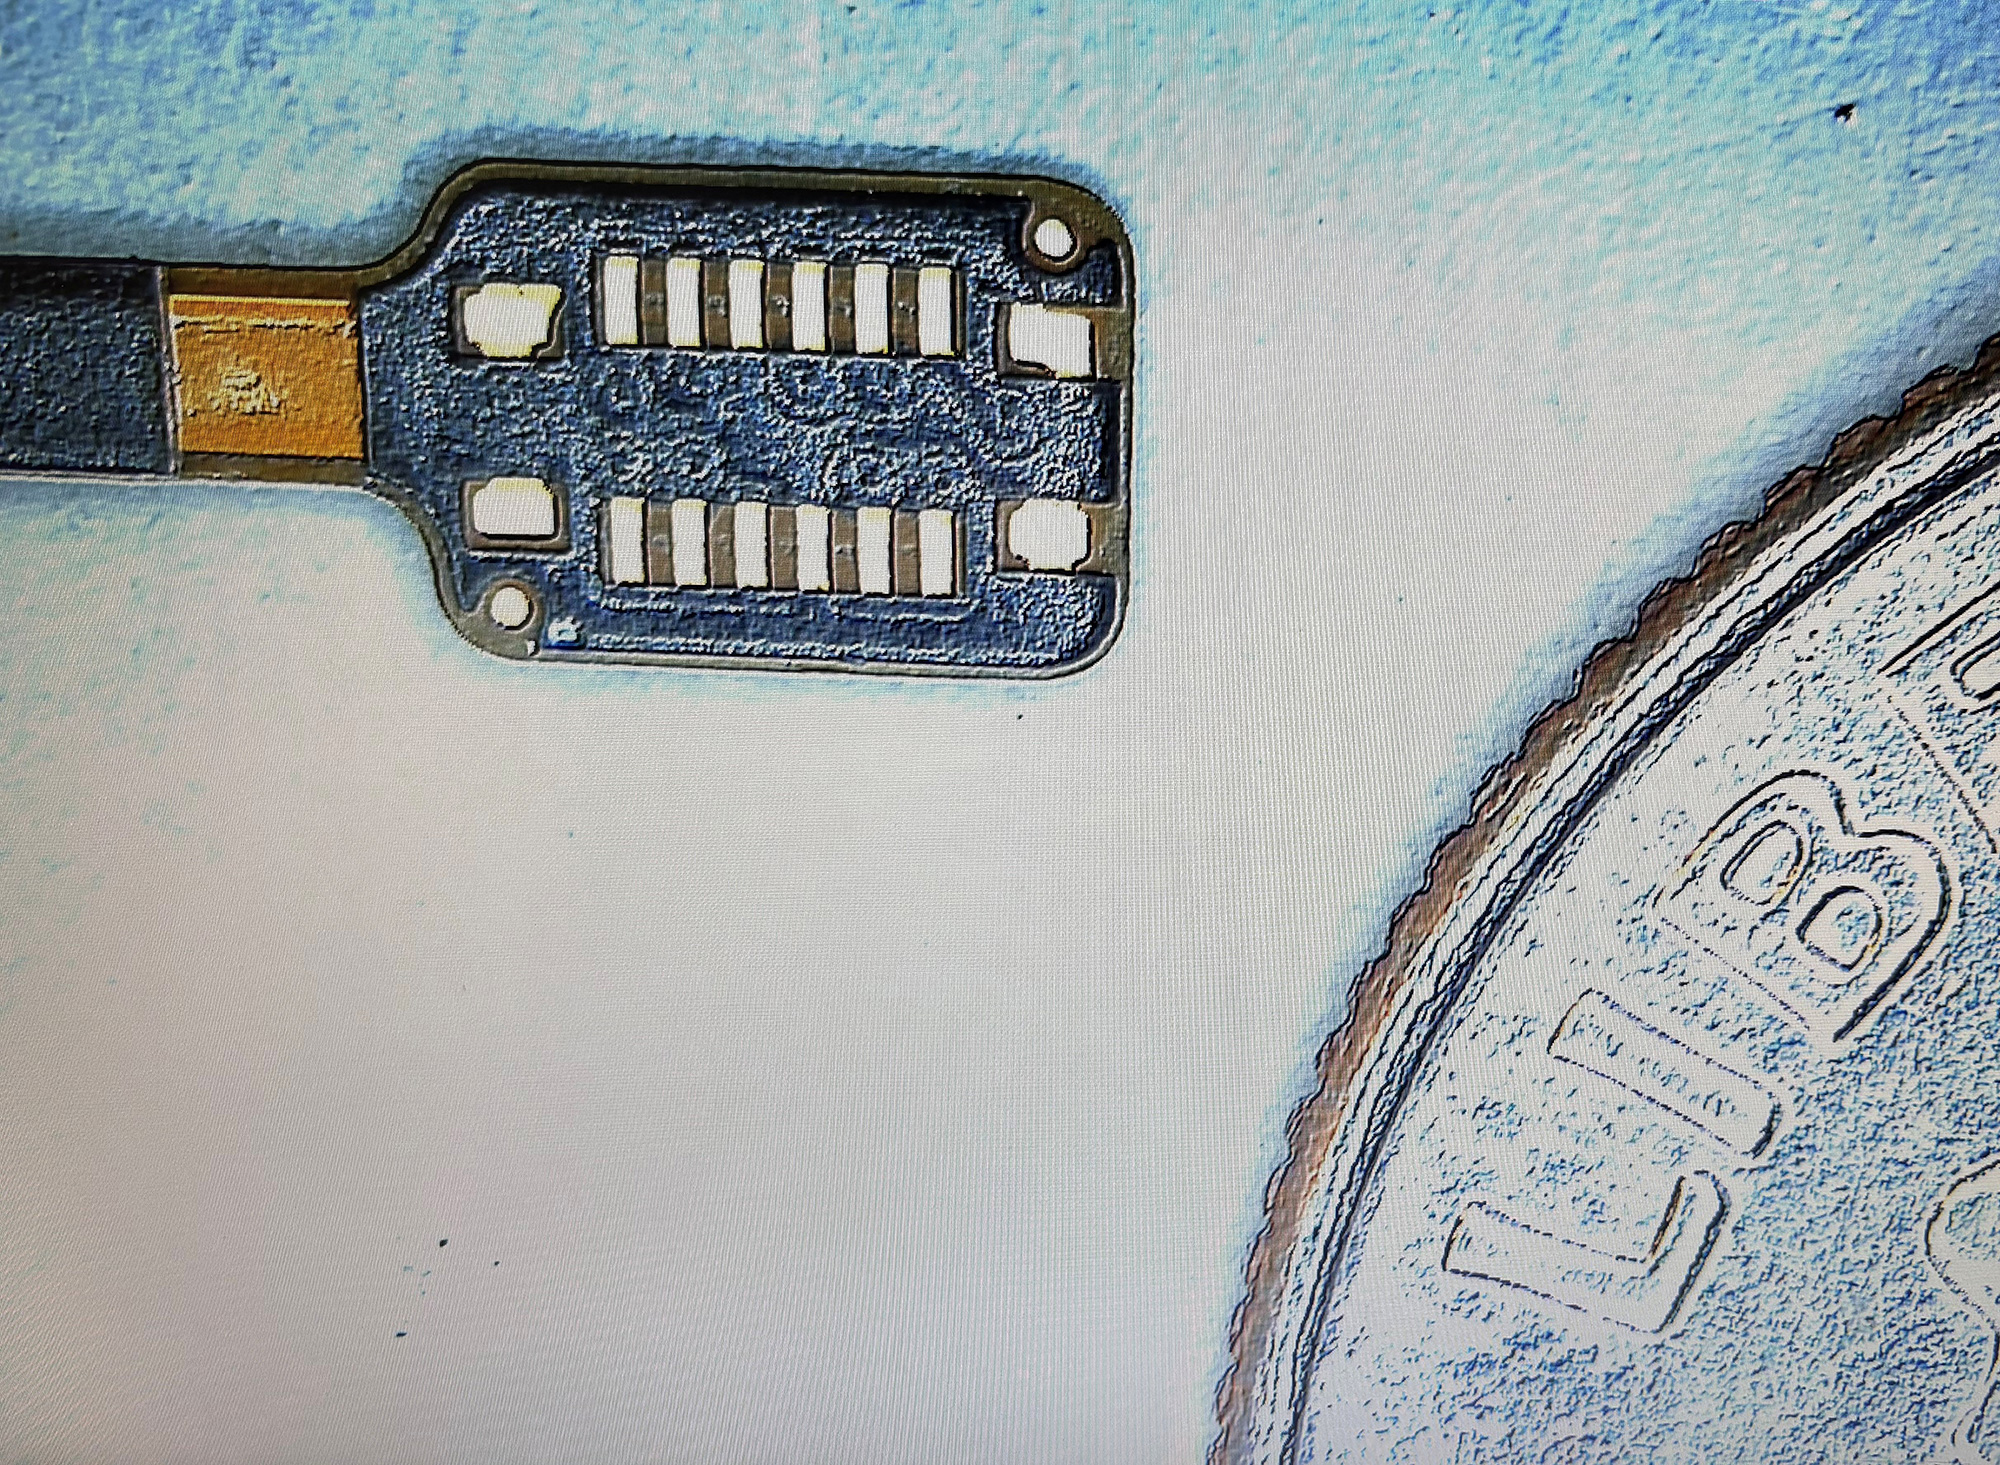
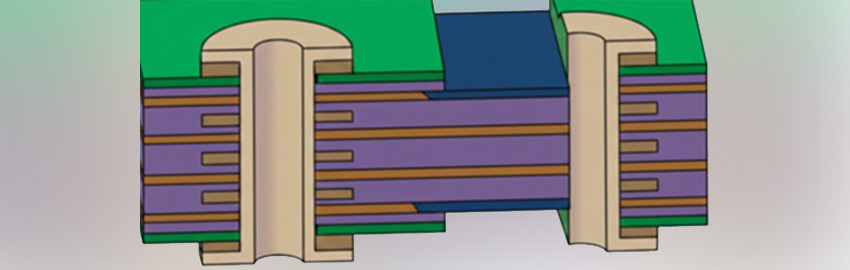
Component footprint creation. Sometimes it is up to the designer to create new component footprints for a design. This is a simple, straightforward process based on satisfying the need to create solder joints that could pass IPC/J-STD-001 criteria. If the component footprints are not correct, assemblers have a more difficult time soldering the component pins to the PCB lands.
Setting up the layout. Design automation helps perform the first step in the layout process using personal layout templates. These templates are configured to contain a designer’s favorite settings for common design environment items. Often used for setting design units, layer colors, net colors, trace widths and via sizing, they can be modified at any time during the layout to match design requirements.
Defining the mechanical constraints. Consider the complete definition of the PCB outline; there is more to a PCB outline than four lines to define a rectangle. In fact, PCB outlines are rarely defined as simple, rectangular shapes, as PCB design continues to shrink electronics into the tightest usable space. Modern PCB outlines originating from advanced 3-D packaging can contain complex curved-edge requirements.
Parts placement. Once the mechanical constraints of the PCB are set, it is time to bring the data from the schematic. When component footprints are imported, they are automatically connected by fine lines to show their pin’s connectivity with other component pins. All these connections are based on the previously established connectivity defined in the schematic. The imported part footprints usually appear to be piled up randomly off to the side of the defined PCB outline after being imported into a database. A design with hundreds of components imported in this way will have so many connections crossed over one another, it will make the pile of parts and connections look like a rat’s nest. This is where the fun begins, and the designer adds organization to chaos. Most designers consider the placement stage of layout their reason for being, as they know this first layout step will drive the success of the entire project because parts placement affects every manufacturing process and therefore every manufacturing stakeholder.
Group imported parts and connections. After parts are imported, they must be grouped. Using the schematic as a reference, a designer can quickly begin grouping the component footprints into clusters of circuits, which can be organized so signal connections are at their shortest distance between pins. A simple way to navigate and sort through parts during placement is to set up cross-probing functionality between the schematic and layout. With cross-probing active and an organized flow, placement of the process of grouping is made easy.
Many things about the evolving layout will now begin to come into view. Component clusters will show the ratio of component area to PCB area outline. Many lines interconnecting the groups will eventually be converted into signal traces, which will require area. Will all the lines be routed on the outer surfaces of the PCB? Will they fit once the components are all placed? Will more layers be required? These are all layout density questions to be addressed after determining all the parts will fit within the PCB outline, while still meeting requirements for DfX.
Position groups onto the board. Once components are grouped per the schematic flow, begin organizing them. Groups should be organized according to their connectivity flow between each other and to their respective input or output connectors. Pay special attention to voltage designations. Try to organize similar voltage groups together, envisioning how a voltage plane may be used to connect to all nodes.
Contrary to popular belief, placement matters because it affects performance and manufacturability. Checking in with a manufacturing stakeholder for wise counsel on DfM – even for placement of a three-cent chip resistor – can save thousands of dollars in cost and is a far better plan than using “artistic license.”
DfX tradeoffs – design density. Consider design density early in the placement process. If the BoM and PCB outline have already been defined by the manufacturing engineer, using a CAD layout tool is the quickest way to begin this analysis. With the components already grouped, the designer can move the groups onto the layout. Hopefully all the groups will fit, and the designer can go on to refine the placement.
If the groups don’t fit, a few logical steps can be taken to remedy this. Remember, component groups are not set in stone. At this point, the designer will begin to get an idea for whether all the parts will fit on a single side of the layout. If it appears nudging individual parts in the groups will help all the parts fit, then continue to smooth out the placement. If not, then it is time to consider using the bottom (now secondary) side of the PCB. This is not a step to be considered lightly, as transitioning to a two-sided assembly brings the design into another manufacturing class and will most certainly increase manufacturing costs.
Shaking hands with your network. Understand the need for establishing and cultivating design and manufacturing contacts. Expanding your professional network will benefit in the long run. There will always be design challenges, and turning to your network will help provide the best possible answer when required.
A mechanical engineer can only guestimate the board area required for the layout. Rarely is a complete schematic and BoM accessible to the ME while the outer packaging of the product is being designed. Early in the mechanical design layout phase, the ME will usually have access to interface components, like connectors and switches, and will naturally define a PCB outline based on the area left over, after the mechanical design is complete.
As a champion of DfX, it is the responsibility of the PCB design engineer to bring the stakeholders together and negotiate compromise. Not every process will be perfect; DfX means the requirements of all stakeholders have been considered, and the design has been optimized via stakeholder consensus.
Cross-checking tools and placement. Use an ECAD tool to cross-check PCB layout with the mechanical layout. ECAD and MCAD tools are on convergent paths, and someday will merge to become one. While rapid progress is being made, current projects are still designed by separate mechanical and electrical stakeholders who must be well-versed in communicating their perspectives.
Final review. Once placement is finalized and has been reviewed internally by the electrical and mechanical engineers, invite a review from the assembly stakeholder. Most EMS providers are happy to perform this review, but require the appropriate data to review effectively. It is important to ask what data they need. Most likely, the EMS provider will be happy to receive the layout in ODB++ or IPC-2581 formats. An assembly drawing (unfinished or not) will provide workmanship standards and peripheral information that may be used for the review.
The steps involved in placing parts onto a PCB design layout could be considered a lot like the steps involved in architecturally planning an urban construction project. Keep it simple by following the rules, determining where compromises must be made, and bringing together the right people for effective collaboration.
This excerpt of The Hitchhikers Guide to PCB Design was written by EMA Design Automation with special contribution from Joe Bouza with Prototron Circuits (prototron.com). Download to learn more about PCB design stakeholders and real-world, actionable PCB design tips from industry experts (go.ema-eda.com/pcbguide).