Flex PCBs are a wild card during assembly, but arrays may ease the process.
As you complete your new flex or rigid-flex design, thoughts naturally turn to the next steps. No circuit is complete until the components are placed and it is installed into the next higher-level assembly. Maybe the flex is like a cable and just has connectors on both ends. At the other end of the spectrum, it could be chock-full of BGAs, passive and active SMT components, and maybe even through-hole devices.
In any case, the next step is assembly. Will parts be placed manually one-by-one, or are pick-and-place or other automated processes planned? These considerations may drive how you want the parts delivered. In some cases, parts are fully singulated and shipped. This is the default unless something else is specified. In other cases, parts are arranged in an array and shipped in a pallet or sub-panel.
Generally speaking, shipping as single units is the lowest cost per part. This is because the manufacturer can optimize parts per panel without considering array borders, tooling holes and fiducials. Array layouts usually have fewer total parts per panel than individual part layouts. This is especially true of flex and rigid-flex, which often have appendages that complicate how parts may be laid out in the larger manufacturing panel for best utilization. From a total cost of ownership point of view, however, the array may result in the best total cost of PCB and assembly.
Read more: To Array or Not Array? That is the Question
From glob top to lamination, solutions for sealing parts in flex.
I need a flexible circuit with a temperature sensor on one end. I need this area to be as thin as possible and sealed against liquid ingress. How do I accomplish this?
Several ways will do what is described. Each has its own benefits and associated costs. I will cover each of them below.
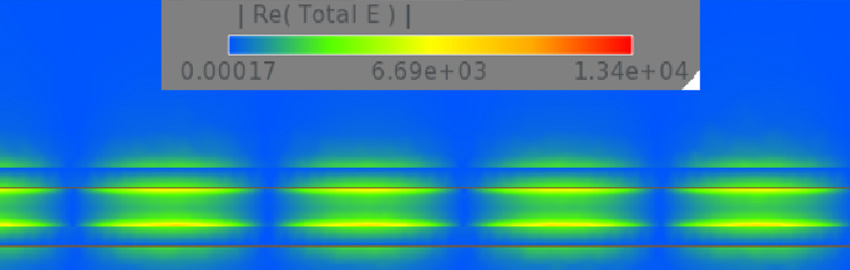
SMT-mounted sensor with conformal coating. The most straightforward solution is to simply mount a standard surface mount NTC or other sensing device to the flex, then seal it with a conformal coat. The conformal coating is typically an epoxy like 3M 2216. This will seal the component and ruggedize the sensor’s solder joints to keep them from damage during assembly or subsequent handling (Figure 1). The downside to this option is the sensor and potting will protrude above the surface of the flex, and depending on the size of the component, this could be significant. Also, the potting is basically a “glob top” where a predetermined dose of epoxy is dispensed over the component and permitted to flow over the top to cover the component and surrounding area. This usually does not produce a perfect circle or oval footprint on the flex, so expect a fair amount of variation. But if there is space above and around the sensor, this is the easiest and least expensive option. Thinner conformal coatings may be used to seal the sensor (e.g., spray-on type), but those will not offer the mechanical protection of epoxy. Potting may also affect the sensor’s sensitivity and responsiveness.
Meeting drawing requirements may be more complex than you think.
As a design is completed, the CAD data and drawing define all the important dimensions and requirements. It is the expectation that when the first shipment is received – and every one after that – the parts will meet all dimensional requirements. But has thought been given to how the manufacturer makes that happen?
It all starts with the CAD data the designer supplies. That data sets the standard. Now it is up to the manufacturer to create the tools to build the part. As it does, keep in mind that the manufacturer does not build a part, it builds a panel of parts. So unless the part is very large, the production panel will hold multiple parts. To accomplish this, the fabricators need to ensure all the features are aligned on all the layers across the entire panel.
As the number of circuit layers increases, so does the challenge of getting everything to align and finish at nominal. The first thing to consider is the materials used to make a circuit are not made of granite. They move in all dimensions, and different materials move differently. Manufacturers need to compensate for the movement. This is done with two techniques: alignment tooling and scaling.
Rotating flex circuits are buildable, but will require additional considerations.
I have an application where I need to make an electrical connection to a rotating shaft. The shaft rotates approximately 180° in each direction. Can a flex circuit wrapped around the shaft like a clock spring accomplish this? Are there any guidelines to follow or ways to predict life expectancy?
While clock spring flex designs are not super common, they are certainly not rare either. I have had multiple successful clock spring flex designs over the years. Most of these initial designs probably would not have performed as desired in the “as received from customer” state, but with a little bit of guidance we tweaked the designs and they all ended up performing well.


 Flex PCBs are a wild card during assembly, but arrays may ease the process.
 From glob top to lamination, solutions for sealing parts in flex.
